
DIY Window Installation: What You Need to Know Before You Start


Understanding the Basics of DIY Window Installation
Embarking on a DIY window installation project can be both exciting and daunting. Before you start, it's crucial to understand the basics of the process and what it entails. Proper preparation and knowledge will not only save you time but also prevent potential mishaps during the installation.
The first step is to assess your skill level and the complexity of the project. If you're relatively new to DIY projects, starting with a smaller window might be the best approach. This will help you gain confidence and experience before tackling larger installations.

Gathering the Right Tools and Materials
Having the right tools and materials on hand is essential for a successful window installation. You'll need a tape measure, level, pry bar, hammer, screwdriver, caulking gun, and insulation foam, among other items. It's also a good idea to have safety gear such as gloves and goggles to protect yourself during the installation process.
When selecting materials, consider the type of window that best suits your needs. Windows come in various styles, including double-hung, casement, and sliding. Each type has its own set of benefits, so research thoroughly to determine which one is right for your home.

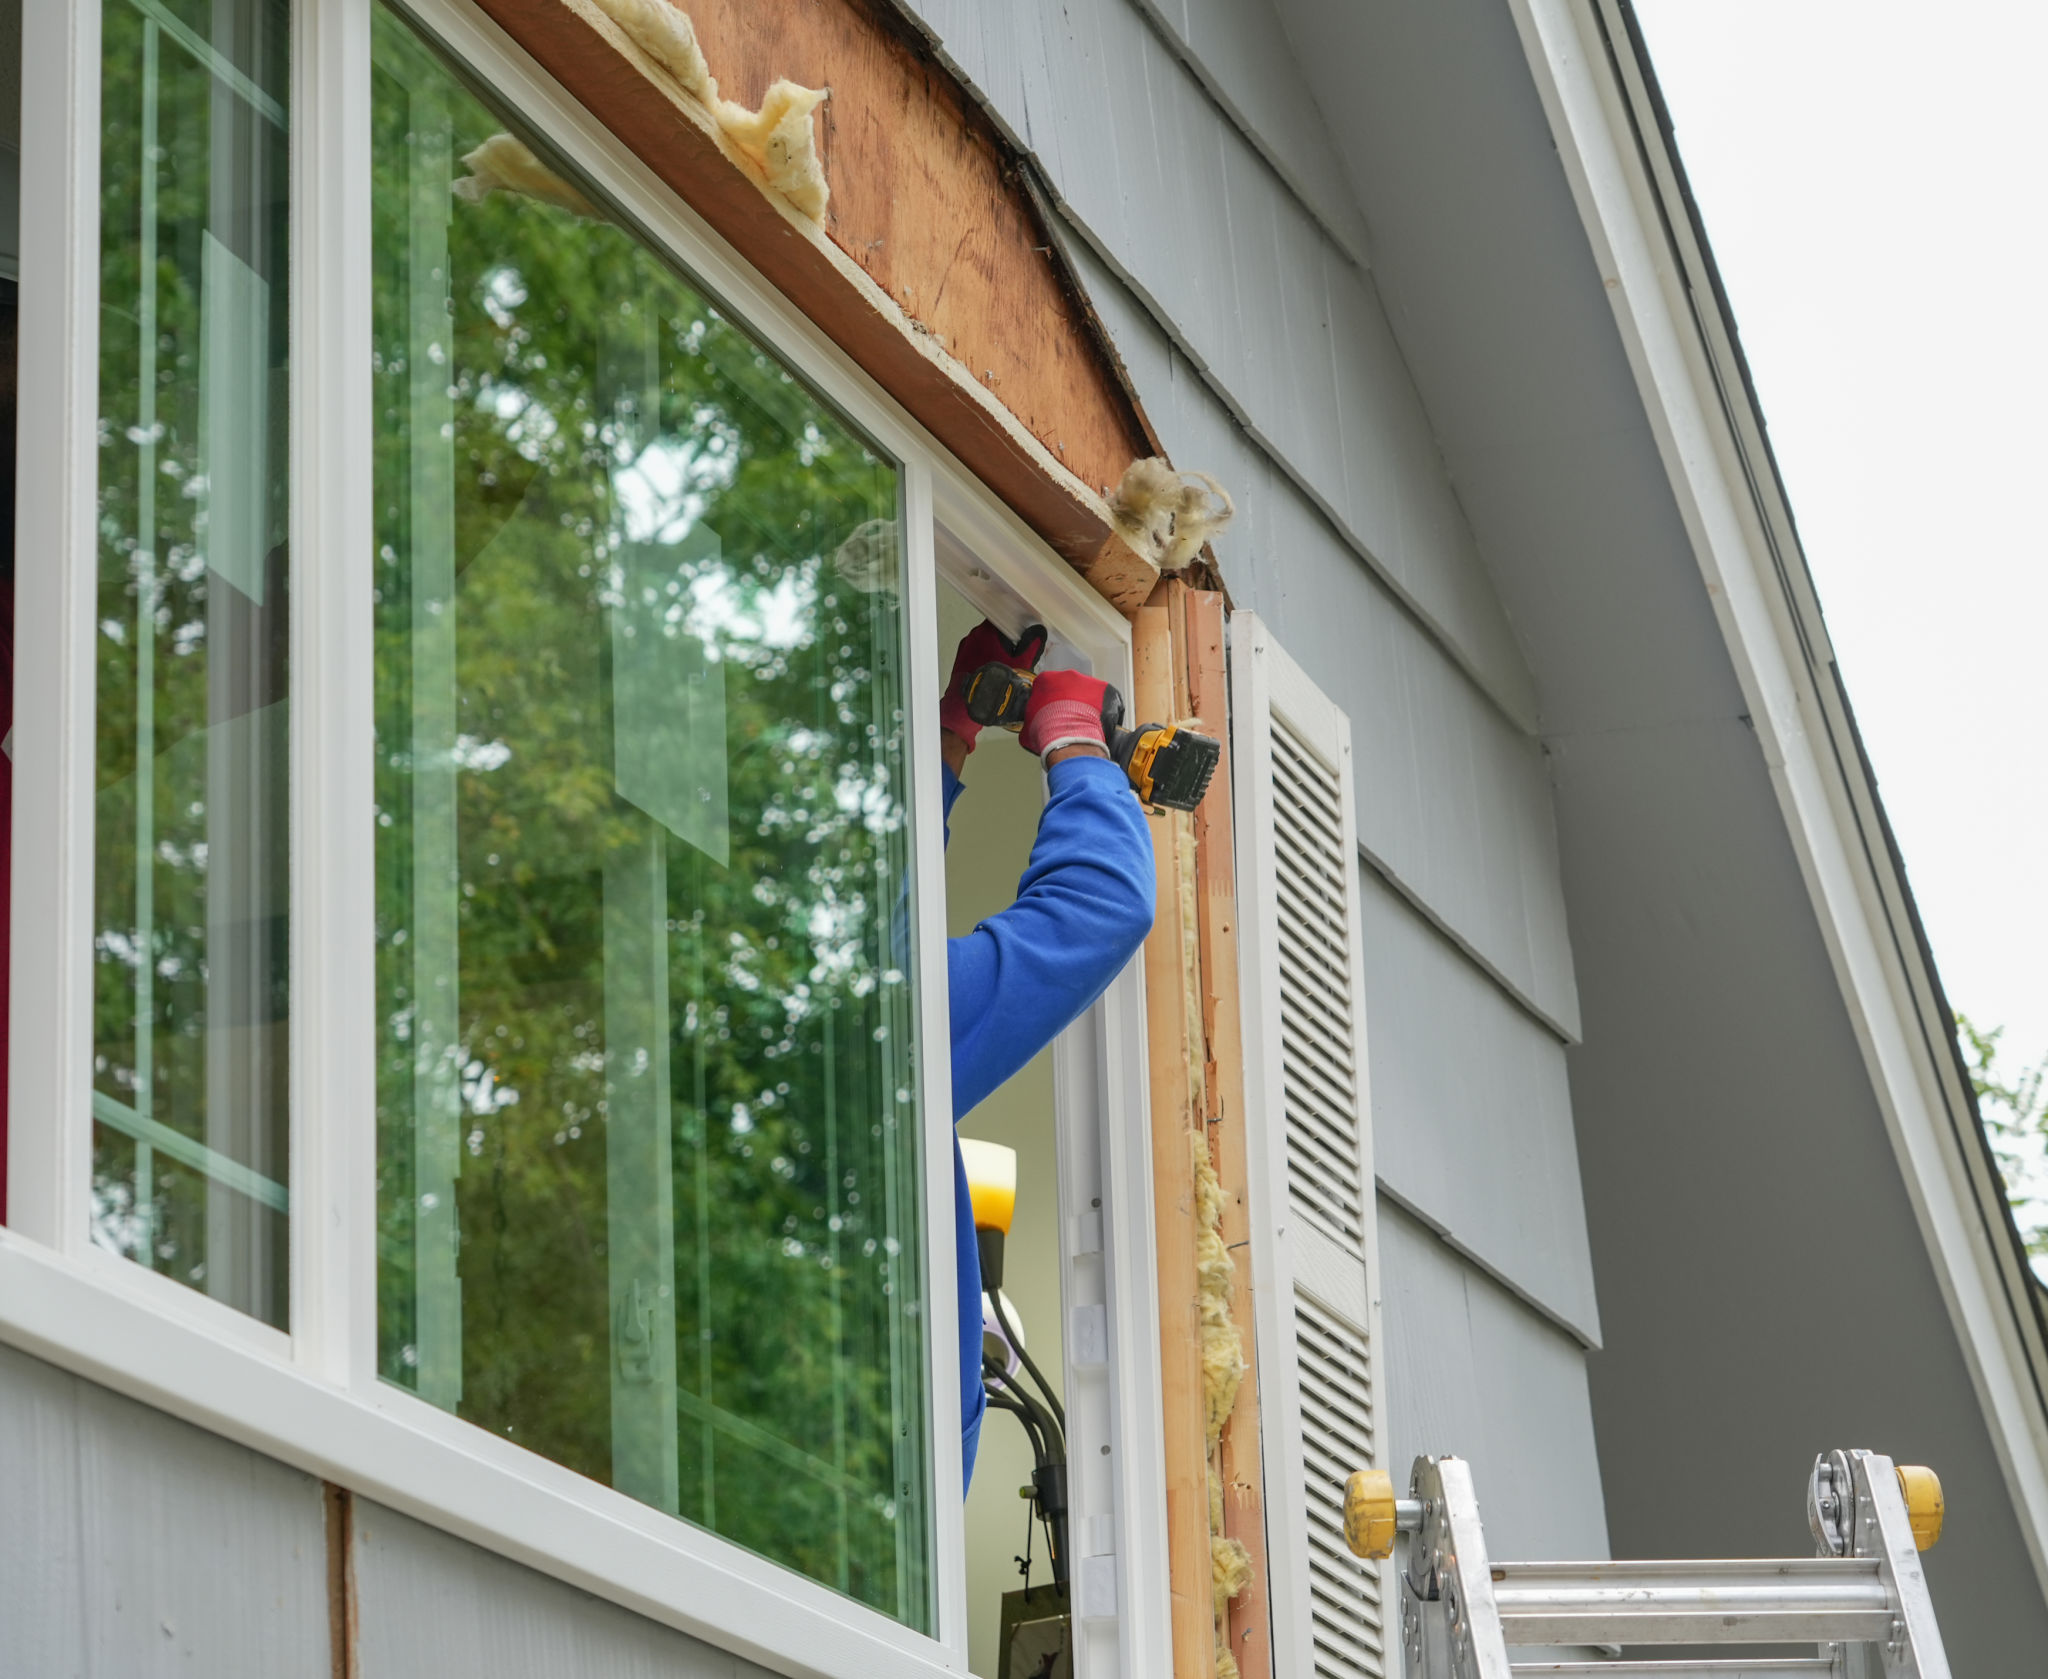
Preparing Your Space
Preparation is key to ensuring a smooth installation process. Start by removing any existing window coverings and furniture near the area where you'll be working. This will give you ample space to maneuver and prevent potential damage to your belongings.
Next, carefully remove the old window. This can be a delicate process, especially in older homes where windows may have been painted shut or sealed with caulk over time. Take your time to avoid breaking glass or damaging the surrounding wall.
Installation Process Step-by-Step
Once the old window is removed, it's time to install the new one. Begin by ensuring the window opening is clean and free of debris. Then, position the new window into the opening, checking that it's level and square. Use shims if necessary to adjust its position.
Secure the window in place with screws or nails, following the manufacturer's instructions. It's important to check that the window operates smoothly before fully securing it. Once you're satisfied with its placement, seal around the edges with insulation foam and caulk to prevent drafts.
Finishing Touches and Inspection
After installing the window, take some time to add finishing touches. This may include installing trim or painting the surrounding area to match your decor. These final steps will enhance both the appearance and functionality of your new window.
Conduct a thorough inspection to ensure everything is secure and functioning properly. Open and close the window a few times to test its operation, and check for any air leaks around the edges. Address any issues promptly to ensure your window is energy-efficient and secure.
Common Challenges and Solutions
While DIY window installation can be rewarding, it's not without its challenges. Common issues include uneven openings, difficulty aligning the window, or discovering rot or damage in the frame. If you encounter any of these problems, don't hesitate to seek advice from professionals or consult online resources for guidance.
Remember that patience and perseverance are key. Mistakes can happen, but they offer valuable learning opportunities that will make your next project even more successful.

When to Call in Professionals
Despite your best efforts, there may be times when calling in a professional is necessary. If you feel overwhelmed by the project's complexity or encounter issues beyond your skill level, it's wise to seek expert help. Professional installers can ensure your windows are fitted correctly and provide peace of mind knowing the job was done right.
Ultimately, whether you choose to go it alone or hire professionals, installing new windows can significantly enhance your home's appearance and energy efficiency. With careful planning and execution, you'll enjoy the benefits of your hard work for years to come.